How to rent a dumpster bin in Ontario: the full process
By Clara Larsen · Updated 2026-07-22
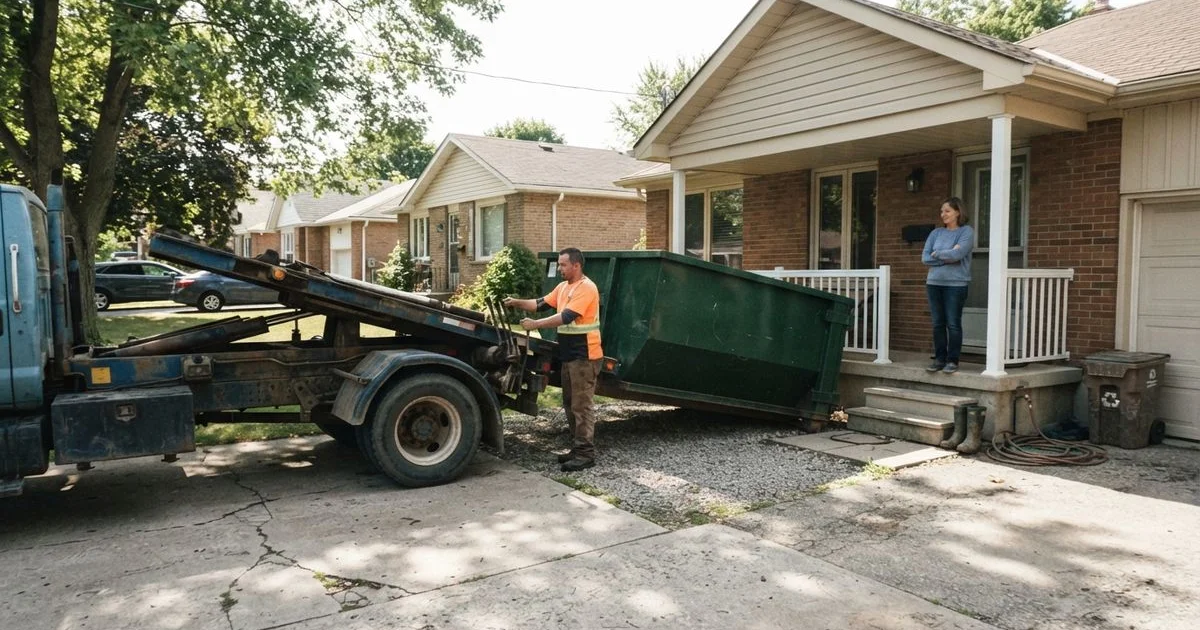
Renting a bin is straightforward once you know the sequence, but skipping a step, like not checking placement rules, can delay your delivery or add a fee you didn’t expect. Here’s how the process runs from first call to final pickup.
Step 1: figure out the right size
Bin size is measured in cubic yards. Underestimating means paying for a second bin partway through your project, and overestimating means paying for space you never use. As a rough guide, a garage cleanout or single-room renovation usually fits a 10 to 14-yard bin, a multi-room renovation or roofing job often needs 20 yards, and a full home renovation, demolition, or new construction project typically calls for 30 yards or more.
Step 2: check where the bin can go
This step gets skipped more than any other, and it’s the one most likely to cause a delay. A bin placed entirely on your own driveway or property generally needs no permit. A bin placed on a public street, lane, or boulevard almost always requires a municipal permit in Ontario, arranged through your local city or town before delivery, not after. If you’re not sure whether your placement counts as public or private, ask the rental company; they deal with this daily and can usually tell you quickly.
Step 3: book the rental and confirm the details
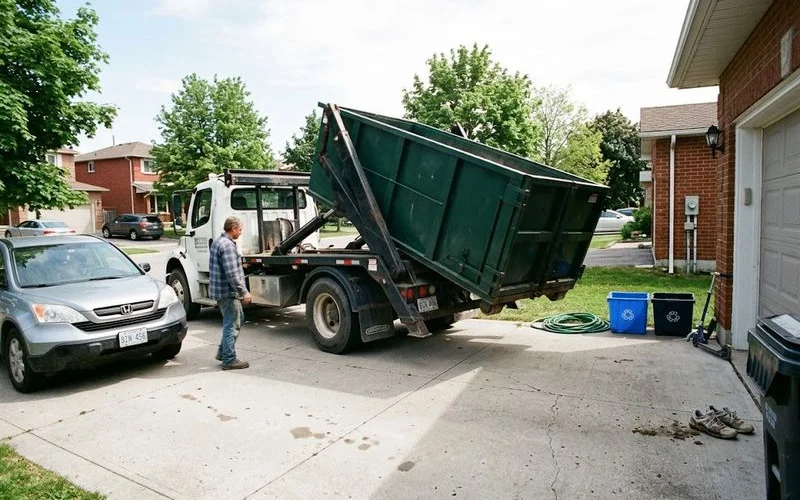
Once size and placement are settled, booking is a phone call or online form. Confirm four things before you hang up: the exact bin size, the rental period (commonly one week), what’s included in the base rate versus what triggers an extra charge, and whether there are restrictions on materials like concrete, shingles, or hazardous items.
| Step | What to confirm |
|---|---|
| Sizing | Cubic yards match your project scope |
| Placement | Permit needed or not |
| Rental window | Standard period and extension cost |
| Materials | Weight limit and restricted items |
Step 4: delivery and loading
Bins typically arrive within one to three days of booking, sometimes same-day if the company has availability. The driver places it exactly where you’ve indicated, so clear the spot of vehicles or obstacles ahead of time. From there, loading is on your own schedule within the rental period; there’s no crew involved unless you’ve also booked labour to help fill it.
A few loading habits make a real difference. Load flat, heavy items first, like drywall sheets and lumber, to build a solid base, and break down large pieces where possible rather than tossing them in whole, since air pockets waste usable space fast. Keeping the bin filled to just below the rim, rather than mounding material above it, also matters: most companies won’t haul a bin that’s overfilled past the safe transport line, and asking for a second bin partway through is more expensive than loading efficiently from the start.
Step 5: pickup
Call ahead when you’re done, or let the rental period run its course if you’ve filled it on schedule. Most companies pick up within a day or two of a completion call. If your project runs long, ask about extending rather than letting the bin sit past the agreed date, since overdue bins usually carry a daily fee.
Reviewers consistently point to two things that make a bin rental smooth: fast delivery once booked, and a pickup that happens close to when it’s requested rather than days later. Confirming both of those upfront, before you commit to a provider, avoids the most common frustration with this kind of rental. Our scoring method tracks exactly this kind of delivery and pickup reliability across companies.
A note on driveway condition
Heavy bins can leave marks on asphalt driveways, particularly in warmer weather when the surface softens slightly. Placing plywood or planks under the bin’s contact points is a simple way to spread the weight and avoid indentations, and it’s worth asking the delivery driver whether they carry protective boards or whether that’s something to arrange yourself. This matters most for asphalt; concrete and gravel driveways are much less likely to show any lasting impact from a standard rental period.
Common first-time mistakes to avoid
A handful of avoidable issues come up repeatedly for first-time renters: underestimating the size needed and ending up with a second delivery fee, not confirming placement rules before the bin shows up and scrambling for a permit after the fact, and overfilling the bin past the safe line, which can mean the company refuses pickup until the load is reduced. Working through the five steps above in order, rather than jumping straight to booking, avoids all three.
Browse current options in the dumpster and bin rental category, or head back to the directory homepage to compare it against other project options first.
Questions people ask
- How far in advance should I book a bin rental?
- A few days' notice is usually enough for standard sizes. Peak renovation season in spring and early summer can mean tighter availability, so booking a week ahead is safer if your timeline is fixed.
- Where can a bin be placed?
- A driveway or private property needs no permit in most Ontario municipalities. Placing a bin on a public street, lane, or boulevard usually requires a municipal permit arranged before delivery.
- Can I fill the bin with anything?
- Most general waste, renovation debris, and furniture are fine. Items like tires, paint, batteries, and certain electronics are typically restricted or need separate handling, so ask before you start loading.
- What happens when the rental period ends?
- The company schedules a pickup date, usually within a day or two of your call if you finish early, or automatically at the end of the agreed rental window.
Related on this site
- Browse dumpster & bin rental providers
- Best dumpster & bin rental in Ontario →
- Dumpster and bin rental pricing in Ontario: what drives the cost
- Dumpster bin permits in Ontario: what you need to know
- What to expect on junk removal day, step by step
- Junk removal vs bin rental: which one fits your project
- All guides →